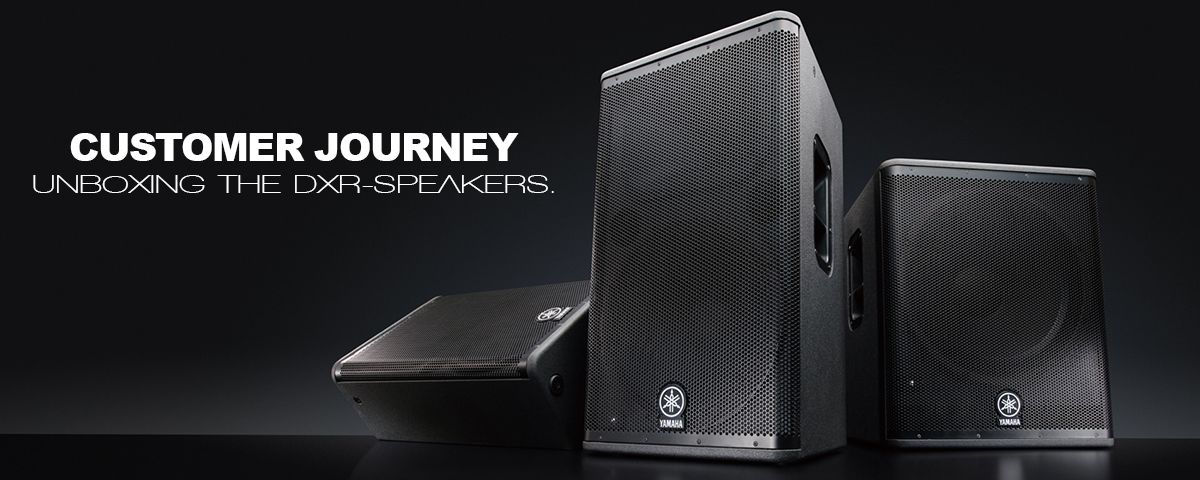
Customer Journey Part 2 - Unboxing the DXR-Speakers.
The journey continues... Unboxing the DXR-Speakers

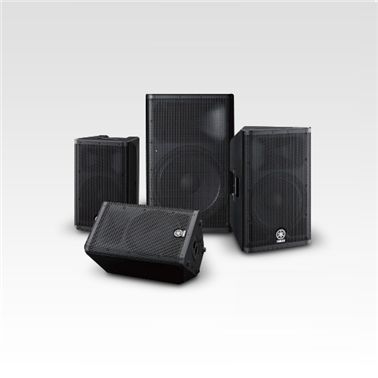
A pair of Yamaha’s DXR12 powered fullrange speakers fits for a wide range of applications! Let`s have a closer look at the DXR12.
After opening the cardboard and removing the protective wrapping we find three items in front of us: The speaker itself, the AC power cord as well as our helpful owner’s manual, that takes you through the features and setup of the DXR12.
Come vedete, il pannello posteriore del DXR12 è diviso in tre sezioni: Input, DSP e LINK MODE.
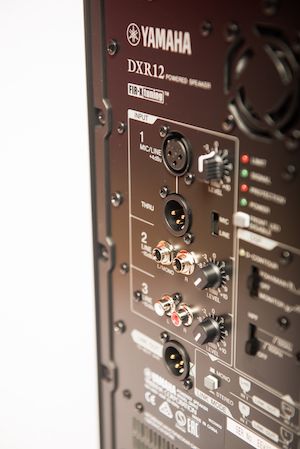
INPUT
The DXR12 features a 3-ch onboard mixer that lets you connect and level up to three different signal sources and up to one microphone (CH1). If you’re playing in an instrumental combo, simply switch CH1 from MIC to LINE and use it for connecting your guitar, stage piano etc.
DSP
In the DSP section you can activate two very helpful features: A highpass filter (HPF) for eliminating the lowest booming frequencies and the D-CONTOUR switch. Here you can determine whether you are using the DXR12 as a PA speaker or as a stage monitor – you decide! And if you don’t like the sound D-CONTOUR gives you: simply switch it off.
LINK MODE
Of course you don’t want to play in mono, right? So just connect the LINK OUT jack to the INPUT 1 (XLR) jack on your second DXR12. On the right you can determine whether the mixed signal (on the original DXR) will be played in stereo or monaural on the original and linked DXR12.
It’s easy, isn’t it?
But before you connect everything and start to play, mount your DXR12 on some speaker tripods and try out the variable alignment of your speakers. When lifting the speakers up on the poles the gripped aluminum handles will help you a lot.
Next time we’re ready to gig!
Together we will set up the speakers, connect them to the FOH mixer and start playing.